Help Pets Stay Calm During Vacuuming: 7-Day Plan
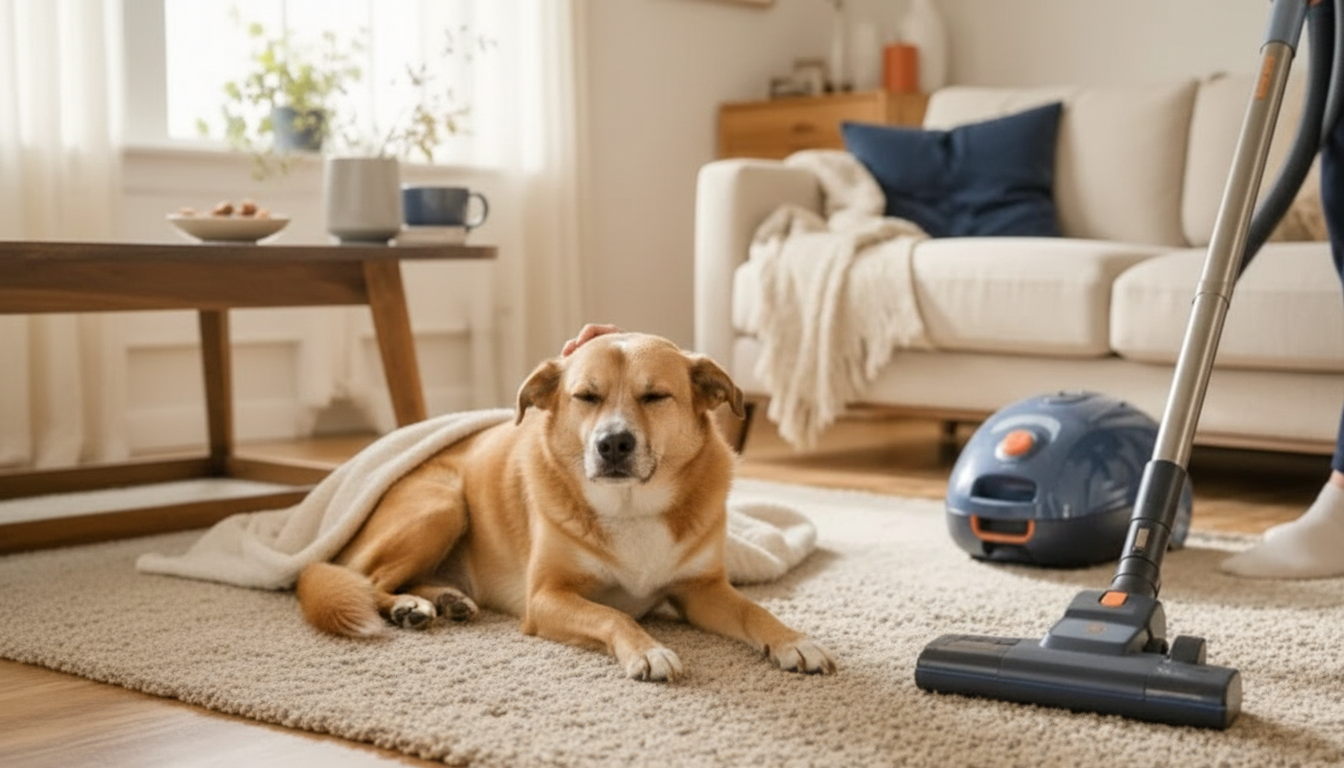
Helping Pets Stay Calm Around the Vacuum
Many pets react to vacuums with barking, hiding, shaking, or swatting because the noise, movement, and airflow feel unpredictable. A calmer response is usually built through small, repeatable practice sessions that pair the vacuum with safety, space, and rewards—without forcing the pet to “tough it out.” With the right setup, vacuuming can shift from a scary event to a manageable routine. For more guidance, see Fearful dogs | Cornell University College of Veterinary Medicine.
Why vacuums feel scary to dogs and cats
To humans, a vacuum is just another household tool. To pets, it can look and sound like a fast-moving, loud “thing” that invades their space. For further reading, see Adopting an under-socialized dog – Humane Colorado.
- Noise and vibration can be intense, especially for pets with sensitive hearing or past negative experiences.
- Erratic movement (back-and-forth, sudden turns) can trigger chase, guarding, or panic responses.
- Airflow and suction sounds may feel threatening near whiskers, tails, and paws.
- Learned associations matter: if vacuum time predicts confinement, separation, or scolding, stress can rise before it even turns on.
- Stress signals to watch for: pinned ears, tucked tail, wide eyes, lip-licking, panting (dogs), crouching, flattened body, or tail flicking (cats).
When fear is driving the behavior, “correcting” the reaction often backfires. Humane, gradual training methods are widely supported by organizations like the International Association of Animal Behavior Consultants (IAABC).
Set up the environment before turning anything on
Good training starts with management. The goal is to prevent panic while creating predictable, repeatable practice that feels safe.
- Create a safe zone that is always available during cleaning: a closed room, covered crate, or high cat perch with a blanket and water.
- Add predictable sound buffering: white noise, a fan, or calm music started before the vacuum appears.
- Pick a special reward reserved for vacuum practice (high-value treats, lick mat, food puzzle, or a favorite wand toy for cats).
- Reduce surprise: bring the vacuum out at a neutral time and leave it parked so it becomes normal background “furniture.”
- If the pet guards the vacuum or attacks it, use a baby gate or closed door to prevent rehearsal of the behavior while training progresses.
Quick setup checklist for calmer cleaning
| Goal | What to do | Common mistake to avoid |
|---|---|---|
| Give distance | Place pet in a safe room or behind a gate with enrichment | Holding the pet close to the vacuum to “show it’s safe” |
| Make it predictable | Start music/white noise, then bring out the vacuum | Switching from quiet to loud abruptly |
| Add a positive activity | Use a lick mat, puzzle feeder, or scatter treats | Using low-value treats that don’t compete with fear |
| Prevent chasing/attacking | Leash (dogs) or barrier management (cats) | Letting the pet repeatedly rush the vacuum |
A step-by-step plan to build comfort (short sessions beat long battles)
Progress happens under the fear threshold—when your pet can still eat, sniff, and think. If the pet won’t take treats or looks “stuck,” the vacuum is too close, too loud, or moving too much.
7-day desensitization and counterconditioning guide (adjust pace as needed)
| Day | Vacuum level | Duration | Pet’s job | Reward |
|---|---|---|---|---|
| 1 | Vacuum off, parked | 2–3 minutes | Look at vacuum, then look away | Treats tossed away from vacuum |
| 2 | Vacuum off, moved slightly | 2–3 minutes | Stay relaxed as vacuum rolls a few inches | Treat after each small movement |
| 3 | Vacuum on in another room | 1–2 minutes | Eat/lick in safe zone | Lick mat or high-value chew |
| 4 | Vacuum on at a distance in same room | 30–60 seconds | Stay behind gate or on leash calmly | Rapid treat delivery, then stop |
| 5 | Vacuum on, slow predictable passes | 1–2 minutes | Settle on mat or perch | Treats for staying on station |
| 6 | Vacuum on, normal pattern in a small area | 2–4 minutes | Relax or engage with puzzle | Food puzzle refill as needed |
| 7 | Vacuum on, routine cleaning (partial) | 5–10 minutes | Choose safe zone or stationing | Bigger payoff after vacuum ends |
During vacuuming: keep it calm, controlled, and brief
After vacuuming: help the nervous system settle
When stress is intense: consider professional support
A structured routine that makes practice easier
Helping Pets Handle Vacuum Stress provides a focused framework to guide gradual exposure, rewards, and management so vacuum time becomes more predictable for pets. Use it alongside safe-zone setup and short sessions to prevent setbacks and build steady improvement over time.
Helpful household add-ons (optional)
- If you play white noise or calming music from a phone during cleaning, a reliable backup battery like the 20W Fast Charging Power Bank 10000mAh can keep sound running through longer sessions.
- If your setup depends on a consistent charging spot, the 240W USB-C Fast Charging Cable can help avoid interruptions that make the “quiet-before-vacuum” routine less predictable.
FAQ
Should a pet be forced to stay in the room to “get used to” the vacuum?
No. Forced exposure often increases fear and can make future training harder; use distance, safe zones, and gradual practice where your pet can stay relaxed and take rewards.
How long does it take for a pet to stop being afraid of the vacuum?
It varies from days to weeks depending on the intensity of the fear, consistency of practice, and past experiences. Look for calmer body language, the ability to eat/play during sessions, and faster recovery after the vacuum stops.
Why does a pet attack the vacuum instead of running away?
Some pets respond to a moving, noisy object with chase/guarding instincts or defensive behavior rather than avoidance. Barriers or leashes plus controlled training help prevent rehearsal and replace the pattern with calmer choices.










Leave a comment